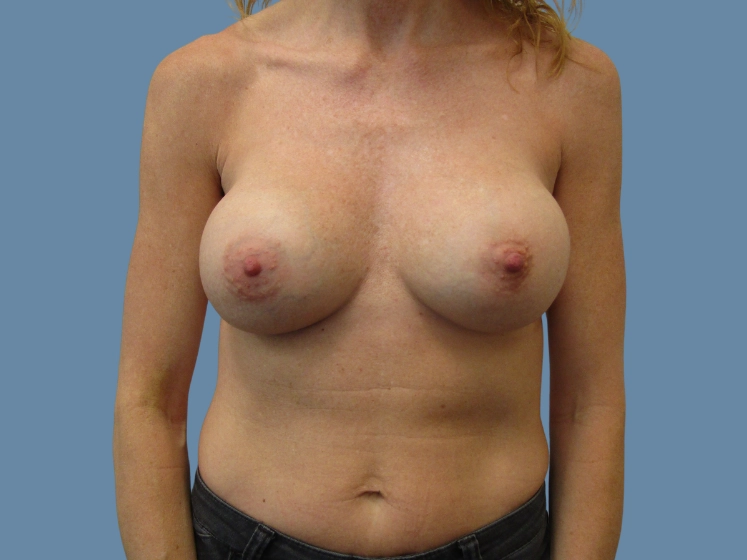
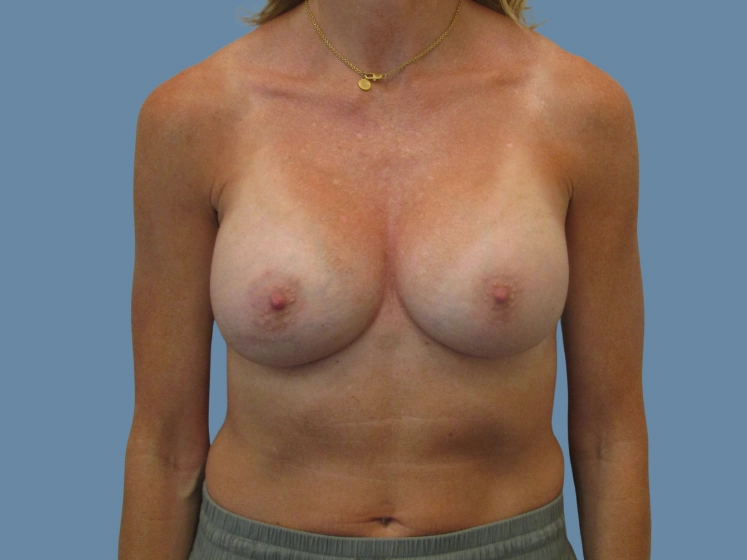
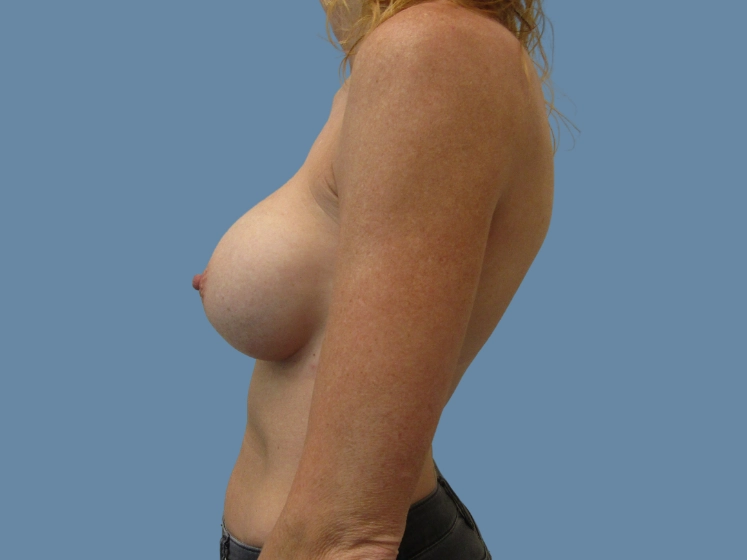
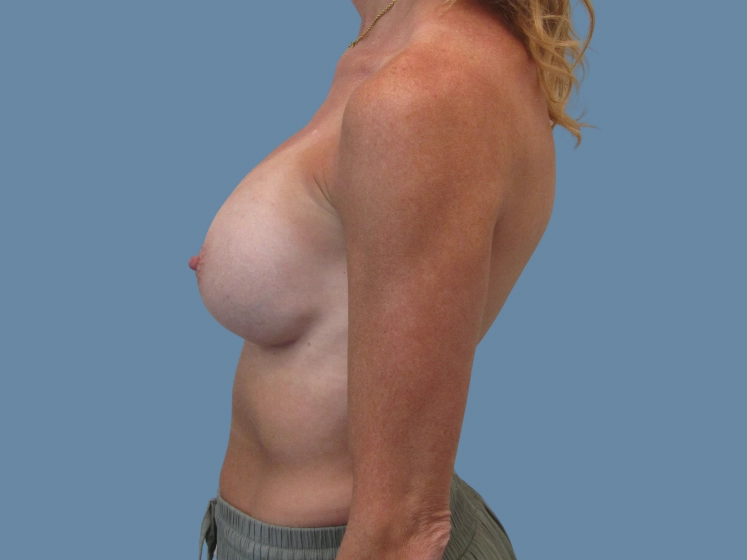
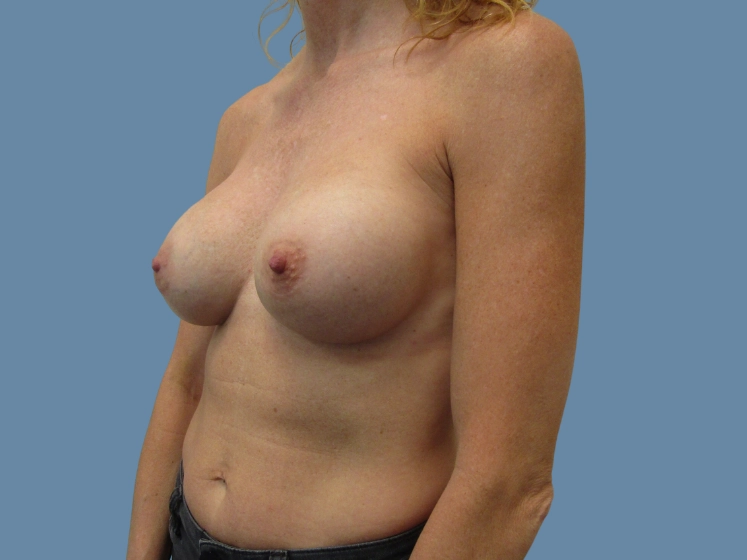
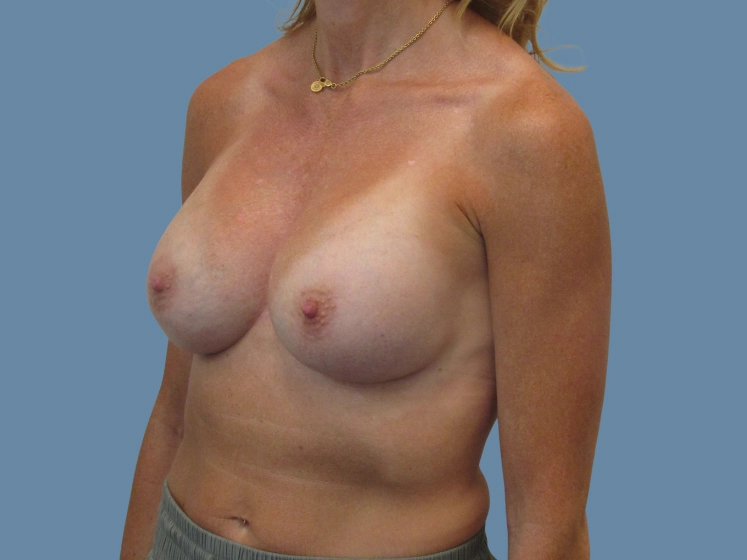
Home.Gallery.Implant Exchange.Patient 11
The photo gallery page you have requested may contain nudity. If you are at least 18 years of age and wish to continue, please click the ‘OK’ button now.